How to Plan a Kitchen Remodel in Stages: A Practical Timeline

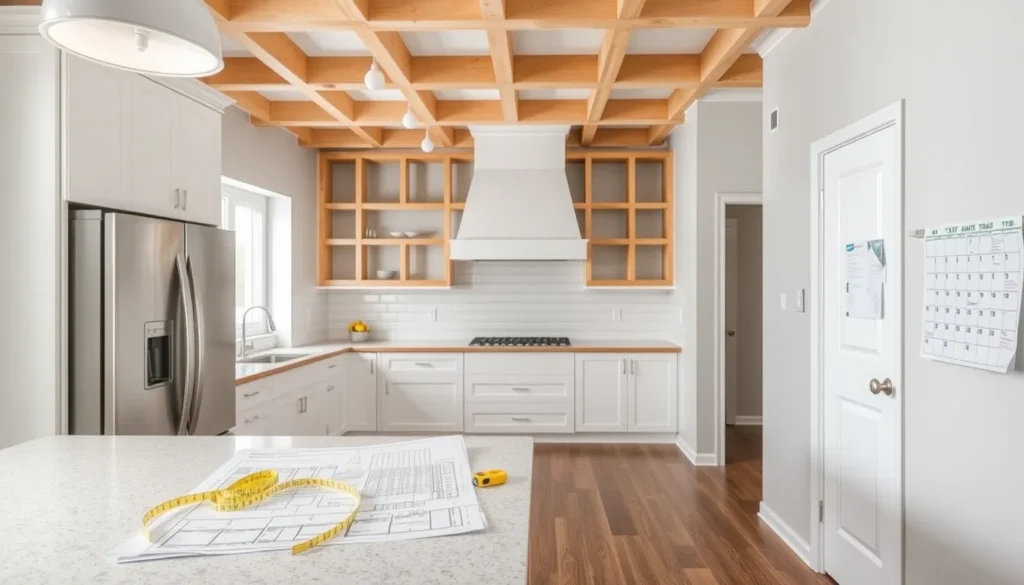
If you are overwhelmed by the complexity of a full kitchen renovation, this guide offers a structured approach to managing the process. It is designed for homeowners who need to balance budget constraints with daily living requirements. Instead of focusing solely on design aesthetics, we address the logistical challenges and financial risks involved in construction.
By breaking your project into distinct phases, you gain clarity on decision-making at every step. This method allows you to mitigate potential disruptions to your household while ensuring that critical path items are addressed first. You will learn how to define your scope, manage subcontractors, and establish a temporary kitchen that supports your lifestyle throughout the remodel.
Why Phasing Your Remodel Reduces Risk
Phasing transforms an overwhelming construction project into a series of controlled steps. Instead of facing a single, massive deadline that forces rushed decisions, you manage distinct segments. This approach separates tasks by function or time, allowing you to isolate variables. When one Phase encounters a delay or cost overrun, it does not cascade into the entire project. The impact remains contained, protecting your overall budget and schedule.
This method significantly improves decision-making clarity. You evaluate choices within a narrower context, such as selecting flooring before addressing cabinetry. This prevents cognitive overload and reduces the likelihood of costly errors. Furthermore, phasing minimizes disruption to daily life. By completing one area before starting the next, you can maintain access to key utilities or living spaces. The stress associated with a simultaneous, whole-house overhaul is replaced by manageable, sequential milestones.
Ultimately, this strategy offers better financial control. You can adjust priorities based on real-time feedback from each completed stage. If a Subcontractor identifies an issue during early work, you can resolve it before it affects later stages. This proactive management mitigates risk and ensures that the Critical Path remains intact. The result is a smoother process that aligns with your lifestyle needs while keeping the project on track.
Defining Your Scope and Priorities
Start by listing every change you want, then categorize each item. This exercise removes ambiguity before you hire a Subcontractor. Separate your list into two distinct groups: must-haves and nice-to-haves.
Must-haves address structural integrity, safety codes, or essential functionality. These include repairing water damage, updating electrical panels, replacing failed plumbing, or installing a functional sink. If the kitchen cannot safely operate without these fixes, they belong in the first phase.
Nice-to-haves cover aesthetic upgrades or convenience features that do not impact daily operation. New backsplash tile, decorative hardware, or a wine cooler fall into this category. While valuable, these items can wait until structural work is complete.
Prioritizing functional necessities first prevents costly rework. Installing new countertops over unstable cabinets, for example, wastes materials and labor. By addressing the foundation early, you ensure that later cosmetic updates sit on a stable base. This approach also clarifies your budget allocation. You can commit funds to critical repairs immediately while planning for decorative spending in subsequent stages.
Review this list with your contractor to verify technical feasibility. Some desired changes may require more time or space than anticipated. Adjusting your Scope now saves time later. This clear distinction between essential and optional work ensures your project progresses logically, reducing stress and financial surprises as the renovation unfolds.
Stage One: Structural and Mechanical Work
Stage One: Structural and Mechanical Work
This phase involves the most disruptive tasks, including moving walls, updating plumbing, electrical systems, and HVAC infrastructure. It must happen first because these elements dictate the physical layout for all subsequent stages. You cannot hang cabinets or install countertops until the underlying structure is sound and utilities are rerouted to their final positions. This work typically requires permits and significant coordination with specialized Subcontractors, making it the critical path for the entire project schedule.
Before any demolition begins, you must finalize the kitchen layout. Ordering finishes too early is a common mistake that leads to costly errors. If a wall moves or a pipe shifts, pre-ordered countertops or custom cabinets may no longer fit. By locking in the structural plan first, you ensure that every subsequent decision is based on accurate dimensions. This approach protects your budget and prevents the need for expensive modifications later. Treat this stage as the foundation of your renovation. Spending extra time here reduces risk and ensures that the mechanical systems support your desired design without compromising functionality or safety. Clear execution at this stage sets the tone for a smoother, more predictable renovation process.
Stage Two: Cabinetry and Countertops
This phase forms the structural core of your new kitchen. It begins immediately after Stage One is certified complete, as cabinetry requires a dry, level, and structurally sound environment. Installing cabinets before mechanical work finishes risks water damage or misalignment if walls shift.
Ordering custom cabinetry often involves significant lead times, making early coordination with your Subcontractor critical. You must finalize the Scope of work, including door styles, hardware, and internal configurations, before the order is placed. Delays here stall the entire Critical Path, as countertops cannot be templated without installed cabinets. Precise measurements are non-negotiable; even minor errors can result in gaps or unusable spaces, leading to costly replacements.
Countertops, particularly stone varieties, require their own fabrication period. The template creation process demands that all upper and lower cabinets are in their final positions. Coordinate closely with your contractor to ensure the area is prepped for heavy lifting and adhesive work. This stage dictates the visual and functional framework of the room. Getting these large, permanent components right ensures that subsequent finishing touches align perfectly with your design intent. Rushing this step to save time often compromises fit and finish, creating long-term maintenance issues that outweigh any initial savings.
Stage Three: Finishes and Appliances
With the structural and cabinet work completed, the third Phase shifts the Scope to the visual and functional polish that makes the kitchen feel lived‑in. Installing flooring, applying backsplash tile, painting walls, and fitting lighting fixtures are the finishing touches that transform a bare shell into a welcoming space.
Because appliances often have lead times of several weeks, the common strategy in How to Plan a Kitchen Remodel in Stages is to place the order as soon as the layout is locked, even though installation occurs in this final Phase. This prevents delays that could push the Critical Path beyond the projected move‑in date.
- Flooring: Lay the floor after all heavy equipment has left the site to avoid dents.
- Backsplash & Painting: Apply tile and paint once the floor is set, ensuring clean lines and proper adhesion.
- Lighting: Install under‑cabinet and overhead fixtures, coordinating wiring with the Subcontractor’s final electrical run.
- Appliances: Connect and calibrate appliances, confirming clearances with the previously installed cabinets.
The Subcontractor conducts a final inspection, verifying that each element meets code and the original design intent. A thorough cleanup of dust, debris, and packaging completes the transition from Temporary Kitchen back to the permanent, fully functional heart of the home.
Managing Logistics and Living Arrangements
When you break the remodel into phases, the house stays livable, but you must treat the transition spaces as part of the project plan. A common solution is to convert a nearby room—such as a dining area, pantry, or even a large closet—into a Temporary Kitchen. Install a compact countertop, a single‑burner cooktop, a mini‑fridge, and a microwave, and run a short extension cord to the nearest outlet. This setup lets you prepare basic meals without stepping into a zone that the Subcontractor is actively working on.
Clear daily communication with the Subcontractor prevents surprise disruptions. Agree on a schedule that marks “clean‑up windows” when the crew will finish a day’s work, and ask for advance notice of noisy tasks like demolition or concrete cutting. A simple checklist shared via email or a project board can track access permissions, required protective coverings, and any temporary storage needs.
Build a buffer period of at least a few days between each Phase. Use this time to walk the site, verify that the Critical Path items—plumbing connections, framing, or electrical boxes—are correctly installed, and to address any adjustments before the next Scope begins. The pause also gives you a chance to re‑evaluate priorities, ensuring the overall remodel stays on budget and aligned with your lifestyle needs.
